# Using Lens in PRISM Desktop
With the release of **PRISM Live Studio (Desktop) v4.0.3**, **PRISM Len**s can now be used in three different ways:
* **PRISM Lens**
* **PRISM Mobile**
* **Video Capture Device**
*via the Add Source menu*
***
## **Adding a PRISM Lens Source**
{% stepper %}
{% step %}
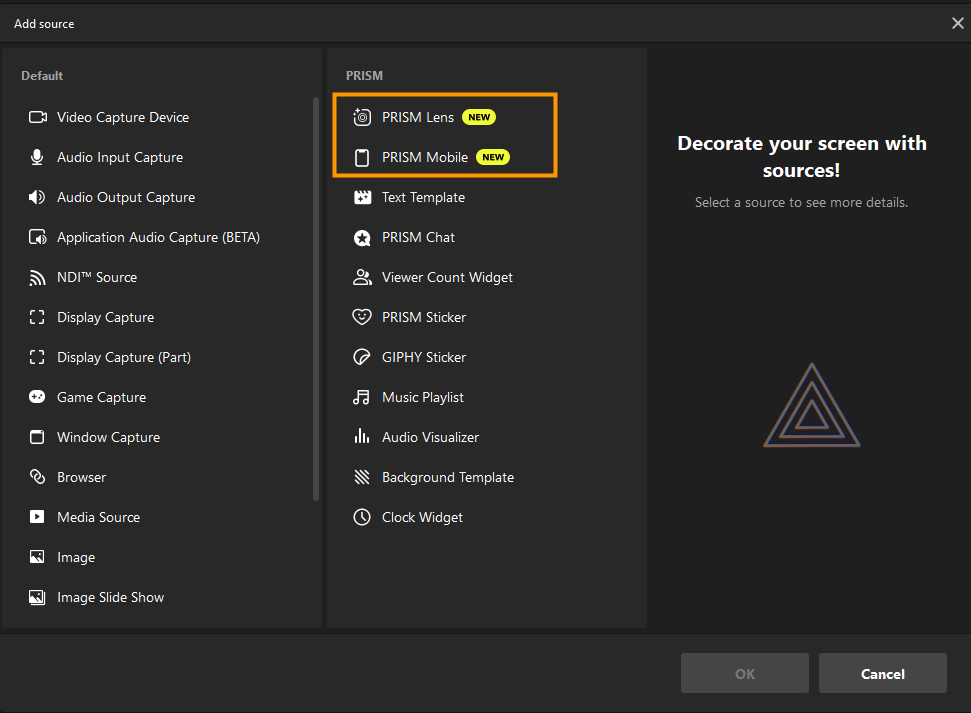
**Install the PRISM Lens app and add a PRISM Lens source via the source addition window on PRISM Desktop.**
{% endstep %}
{% step %}
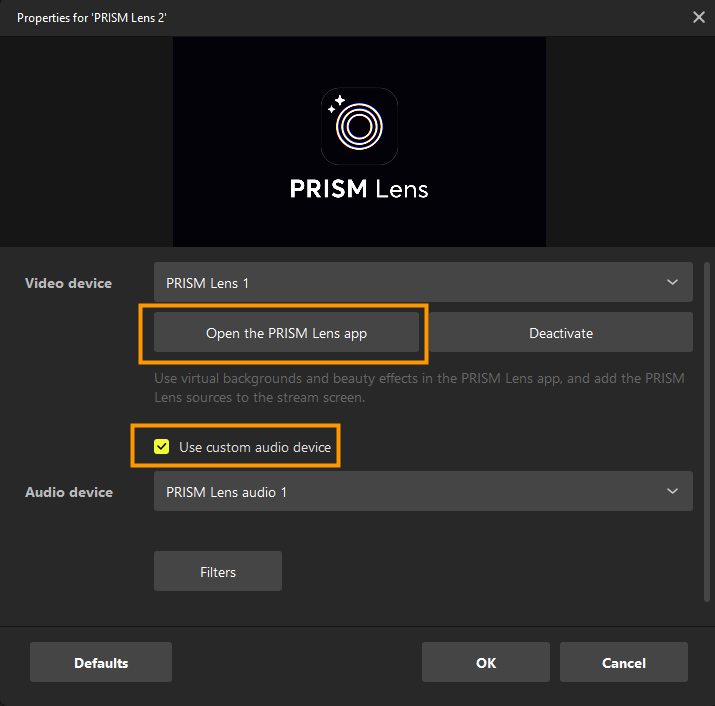
**In the PRISM Lens source properties window, select PRISM Lens 1/2/3 from the video device options.**
The selected lens will activate, and the PRISM Lens app will run hidden in the system tray.
Clicking the **"Open PRISM Lens App"** button in the PRISM Lens source properties window will display the Lens app at the top of your monitor.
The option **"Use custom audio device"** is selected by default for convenient audio capture. You may change to another device after selecting the lens.
{% endstep %}
{% endstepper %}
{% hint style="info" %}
For more detailed instructions, please refer to the following guide.\
[Connecting Camera from PRISM Mobile App](/desktop/guides/sources/prism-mobile-source/connecting-camera-from-prism-mobile-app.md)
{% endhint %}
***
## **Adding a PRISM Mobile Source**
Integrating Mobile sources individually has become even easier.
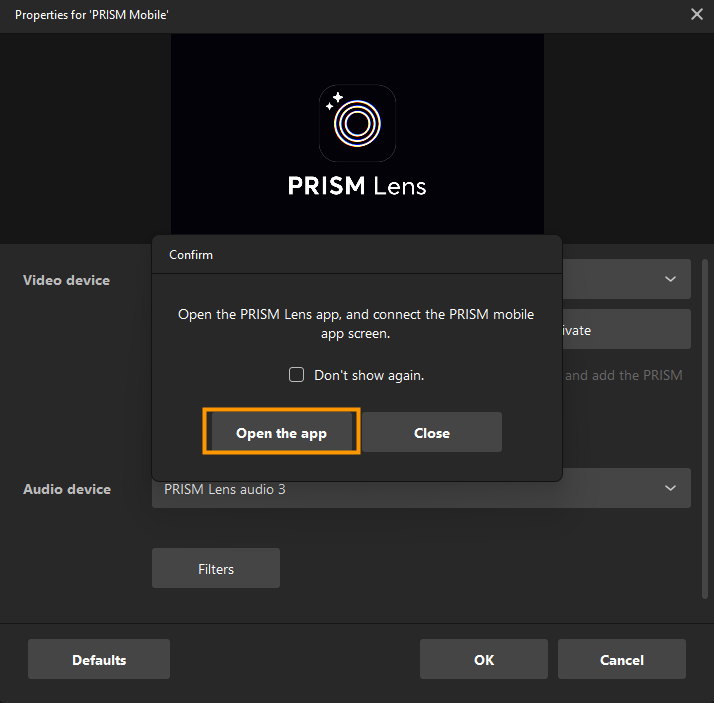
By default, **Lens 3** is selected for Mobile sources, and the Lens app runs in the system tray with Lens 3 active.
When you add a Mobile source from the source addition window, a confirmation notification appears. Clicking the **"Open App"** button in the notification immediately launches the Lens app.
Complete the integration by scanning the QR code displayed in the Lens app window using the **Connect** menu on your mobile device.
***
## **Adding a Video Capture Device Source**
You can also use Lens with the **Video Capture Device** source, which offers more advanced settings compared to Lens and Mobile sources.
However, unlike Lens and Mobile sources, the **"Use custom audio device"** option is **not selected by default** in the Video Capture Device source.\
To broadcast audio from the Lens app, you must manually enable this option.
If you encounter issues related to mobile connection, please refer to the following guide.
[Resolving PRISM Mobile Connection Issue](/lens/guides/error-solution/prism-mobile-connection/resolving-prism-mobile-connection-issue.md)
[LENS](/lens/overview.md), [Guides](/lens/guides.md), [Using Lens in PRISM Desktop](/lens/guides/features/using-lens-in-prism-desktop.md)
---
# Agent Instructions: Querying This Documentation
If you need additional information that is not directly available in this page, you can query the documentation dynamically by asking a question.
Perform an HTTP GET request on the current page URL with the `ask` query parameter:
```
GET https://guide.prismlive.com/lens/guides/features/using-lens-in-prism-desktop/using-lens-in-prism-desktop.md?ask=
```
The question should be specific, self-contained, and written in natural language.
The response will contain a direct answer to the question and relevant excerpts and sources from the documentation.
Use this mechanism when the answer is not explicitly present in the current page, you need clarification or additional context, or you want to retrieve related documentation sections.